

Make a useful YouTube tutorial—and a Reel from the same topic
Film a complete landscape explanation, then create a separate portrait version that stands on its own.
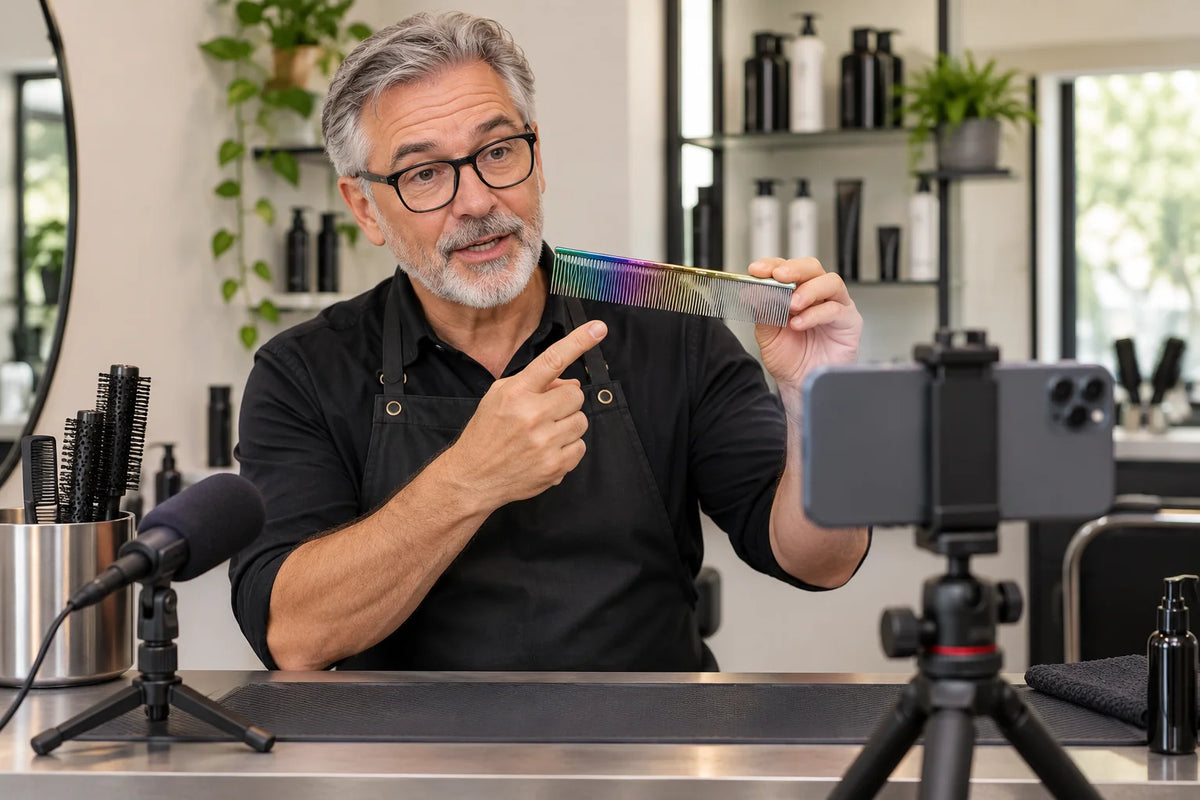
Creator filming series · Lesson 6 of 9 · Intermediate
YouTube gives you space to explain a process in more depth. Use that space to help people understand the whole task, including preparation, checks and limitations. A longer video is not automatically more valuable. A clear three-to-six-minute practice tutorial is a manageable starting brief, not a platform rule.
Reels remain the priority in this series. You can plan a longer tutorial and a short Reel around the same question, but each should be useful in its own format. The Reel should not withhold every answer to force someone into the longer video.
Choose a topic with enough depth
A good tutorial answers a specific question with several connected steps. For example, identifying a clipper's blade system can include checking the model, reading the product information, showing the relevant identifier and explaining what to do if the model is not listed. Choose a topic you can demonstrate accurately and competently.
If the topic involves maintenance or a grooming procedure, follow the actual manufacturer's instructions and your professional training. This filming guide does not authorise a risky demonstration or substitute for those instructions. A bench-based identification tutorial is a useful first assignment.
Write the lesson before setting up cameras
- Promise: what the viewer will know at the end.
- Preparation: the correct tool, reference information and safety setup.
- Steps: the actual sequence, including essential checks.
- Review: show the useful detail or real result again.
- Next action: where to check suitability or get help.
List the shots needed for each section. A wide view explains the workspace; a closer view explains the detail. Do not rely on one distant talking-head shot to teach a small fitting. Write any limitation where the viewer needs it, not only in the ending.
Film landscape deliberately
For a conventional full-width YouTube tutorial, turn the phone sideways and record a native landscape frame. A 16:9, 1920 × 1080 project is a practical starting target. Place the presenter and demonstration so both remain visible without stretching or thick borders.
YouTube adapts its player to other aspect ratios, so landscape is a production choice for this exercise rather than the only supported option. Keep the final export at the original recording frame rate. Its recommended upload settings describe MP4, H.264 and compatible audio settings. Check the current destination guidance if your editor offers different presets.

Record clear sound and detail
Test speech from the actual working position. An external microphone can help if it is available and securely placed, but buying equipment is not the first solution. Reduce safe-to-remove noise, move the microphone appropriately and review the recording. Keep cables out of the work area.
Record the main explanation first, then the safe close details you need. If a second camera is available, match the frame rate and check colour, focus and exposure independently. Capture one clear synchronisation clap when appropriate, before the demonstration and away from an animal. Never startle a dog for editing convenience.
If an important action must be continuous to understand correctly, retain that continuity. An insert shot should explain the step, not hide a missing or unsuccessful part. Do not add unrelated product footage that changes the viewer's understanding of the system being demonstrated.
Create useful chapters and a truthful title
After editing, note where each section begins in the actual final file. Use meaningful chapter labels when the platform and channel support them. A title should name the topic and appropriate product family. A thumbnail should show the real subject clearly without an exaggerated result or false claim.
Do not use a generated grooming transformation as a thumbnail for a real tutorial. If a graphic is illustrative, make its role clear. Check that the title, thumbnail, introduction and actual lesson agree. A strong promise is helpful only when the video delivers it.
Make the Reel separately
Select one useful point from the longer lesson and write a short standalone answer. Film a native portrait version of the key action when the landscape crop would lose important details. You can reuse suitable clean footage if the framing and rights permit it.
For example, the tutorial explains the whole identification process; the Reel shows the label viewers should check first and where to find the compatibility guide. The short version gives a real answer, then offers the longer explanation for people who need it.
Do not assume links behave identically in every YouTube format or on every channel. Check your actual published description and available linking features. A URL written on screen is not necessarily clickable. Use the suitable destination and confirm the path before telling viewers to follow it.
Rights, credits and final checks
Confirm permission for YouTube as well as Instagram, including everyone identifiable and any music or footage involved. A platform music selection is not automatic cross-platform clearance. Keep a clean master and the usage agreement. Credit contributors with the spelling and wording they agreed.
Watch the entire exported tutorial and Reel with sound. Check speech, captions, product names, framing, chapter times, disclosure and the ending. Let a person unfamiliar with the process explain it back. If they miss an essential step, add clearer evidence or wording rather than more promotional material.
Your practice assignment
- A complete landscape identification tutorial with preparation, steps, limits and next action.
- A separate portrait Reel that answers one part of the question.
- A truthful title, thumbnail plan and checked description links.
- Clean masters, caption files or versions, original footage and permissions.
Completing the assignment means you have usable filming practice. It does not guarantee views, orders or acceptance for VUNRO publication. Agree the final brief and release permission before submitting work for public use.

Keep learning
More from the Blade Blog
Explore coat care, equipment guidance and practical grooming routines in the complete guide library.
Browse all grooming guides →


